Start by confirming your chimney size, roof pitch, and distances to ridges, valleys, and walls before you fabricate anything. Verify clearances to combustibles against the appliance manual and local code, typically 2 inches. If your chimney’s wider than 30 inches, you’ll need a cricket. Plan step, apron, and counterflashing precisely, lap everything uphill, and use copper or stainless fasteners. Repair the crown and mortar first. There’s more you’ll want to know below.
Key Takeaways
- Confirm chimney dimensions, roof pitch, and distances to ridges, valleys, and walls before fabricating any flashing components.
- Verify clearance to combustibles against the appliance manual and local code, typically 2 inches for masonry and factory-built chimneys.
- Install a cricket or saddle on the uphill side whenever chimney width exceeds 30 inches to divert runoff.
- Layer flashing correctly: step flashing 2 inches onto panels and 4 inches up, apron under upper roofing, counterflashing reglet-cut 1 inch into masonry.
- Use compatible copper or stainless fasteners, avoid exposed heads, and never rely on surface sealant alone or lap flashing uphill.
How should metal roofing be planned around a chimney
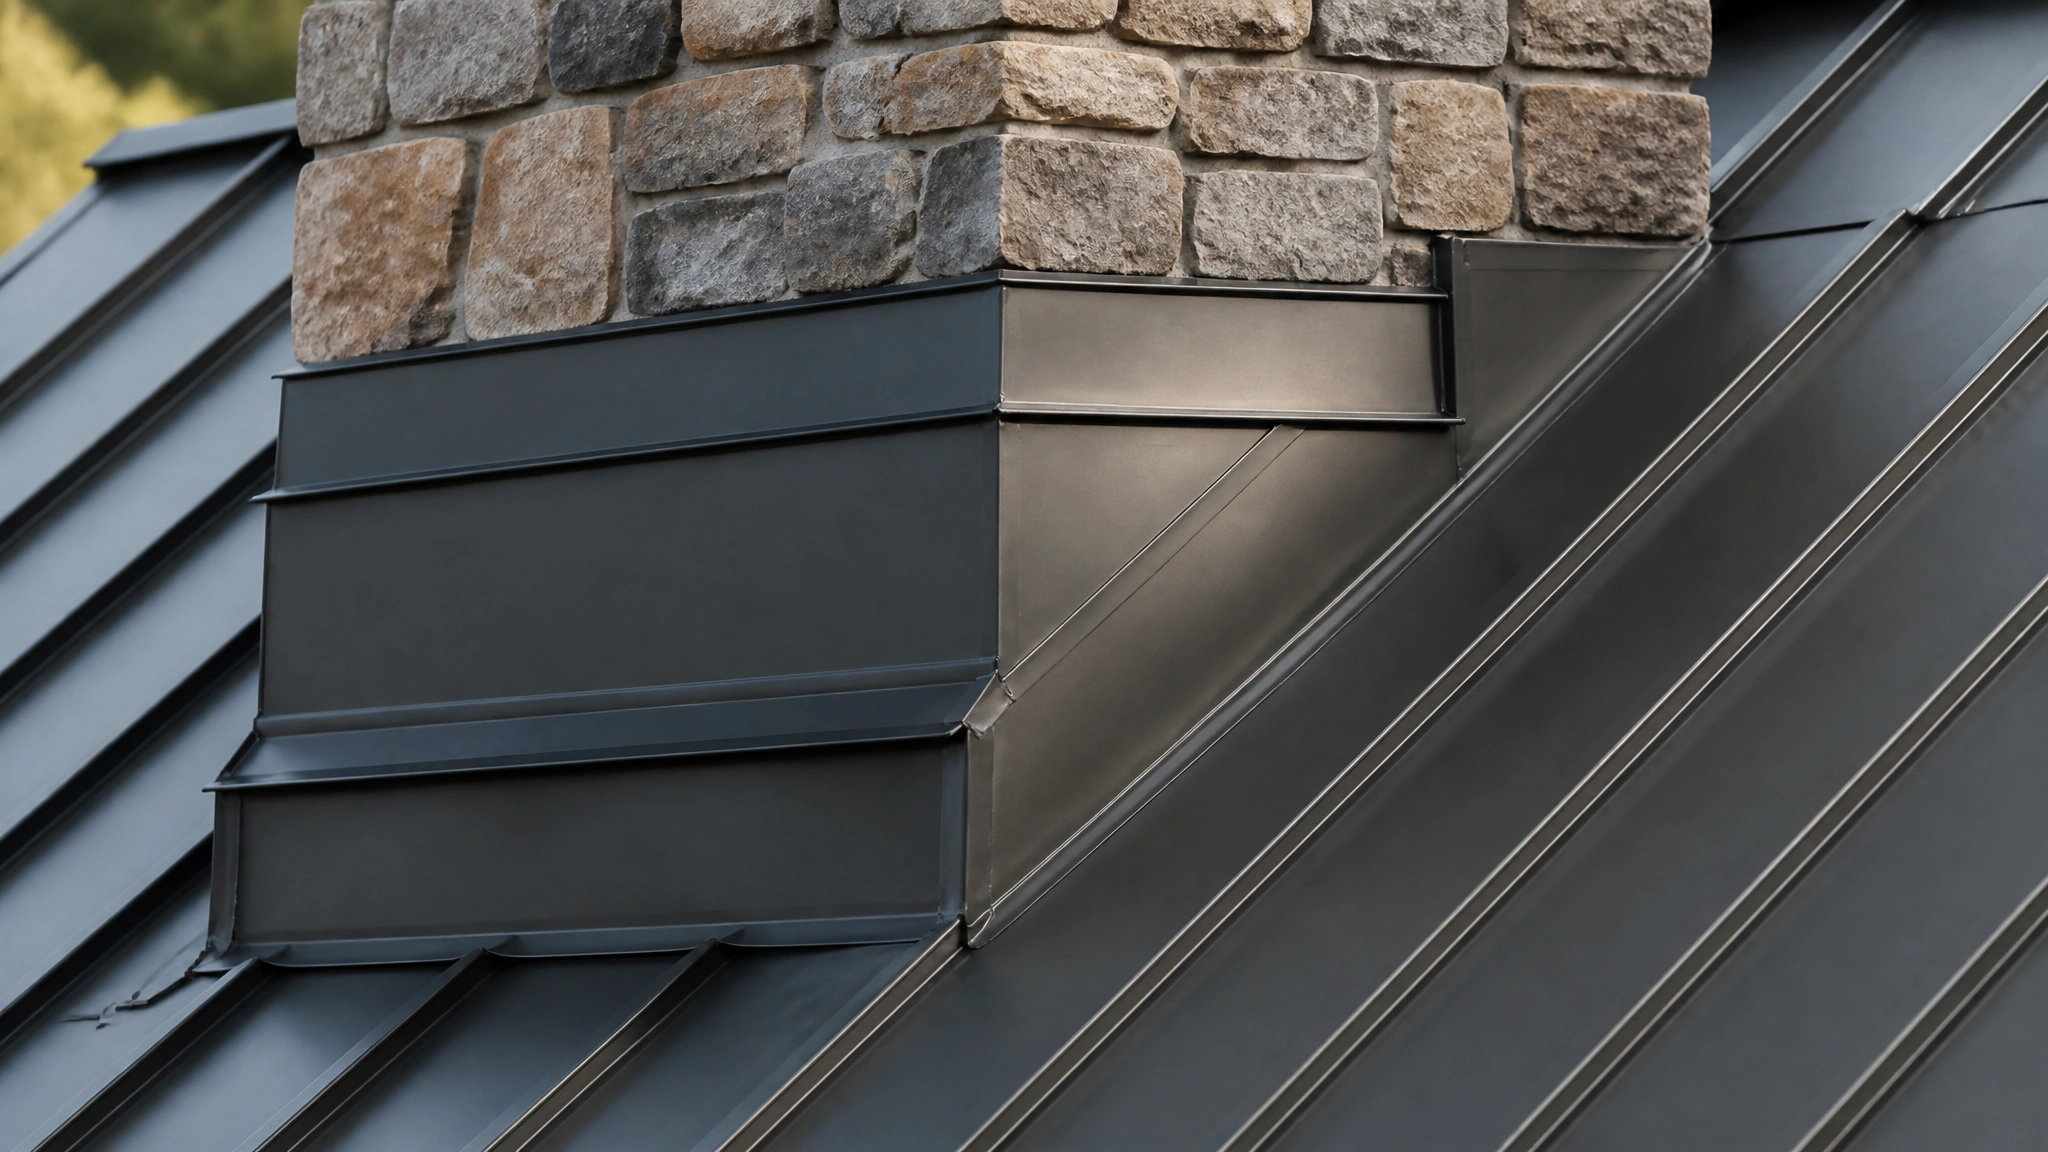
Plan metal roofing around a chimney by verifying the chimney’s size, the roof pitch, and its distance to the nearest ridges, valleys, and walls. Solid chimney metal roof planning starts here, because these measurements drive your flashing layout, seam alignment, and cricket decisions. Confirm required clearances to combustibles, typically 2 inches for masonry and factory-built chimneys, but check the appliance manual and local code first. Inspect the crown, mortar joints, and cap condition, and repair defects before you flash anything. Installing metal roofing near masonry structures requires attention to thermal expansion, adequate ventilation to prevent moisture buildup and structural damage, and proper installation techniques to extend the lifespan of both materials.
Account for framing, underlayment, fasteners, and any chase or collar details near the penetration. Map how flashing components tie into your panel profile and seam pattern, especially on standing seam systems where you’ll want to minimize penetrations. Good planning prevents leaks you can’t easily fix later.
What should be inspected before metal roof work begins
Inspect the chimney crown, mortar joints, and cap condition first, and repair any defects before flashing goes in. You don’t want to embed counterflashing into crumbling mortar, so a sound reglet or joint is essential. Next, verify chimney dimensions, roof pitch, and distance to ridges, valleys, and walls before fabrication starts.
- Confirm metal roof clearance chimney values against the appliance manual and local protection, typically 2 inches to combustibles.
- Check panel protection, seam layout, and profile compatibility with your flashing components.
- Inspect underlayment, framing, and any chase or collar details at the penetration.
Don’t cut until these checks pass. Solid pre-install verification prevents water intrusion and costly rework later on.
How do roof pitch and chimney placement affect the project
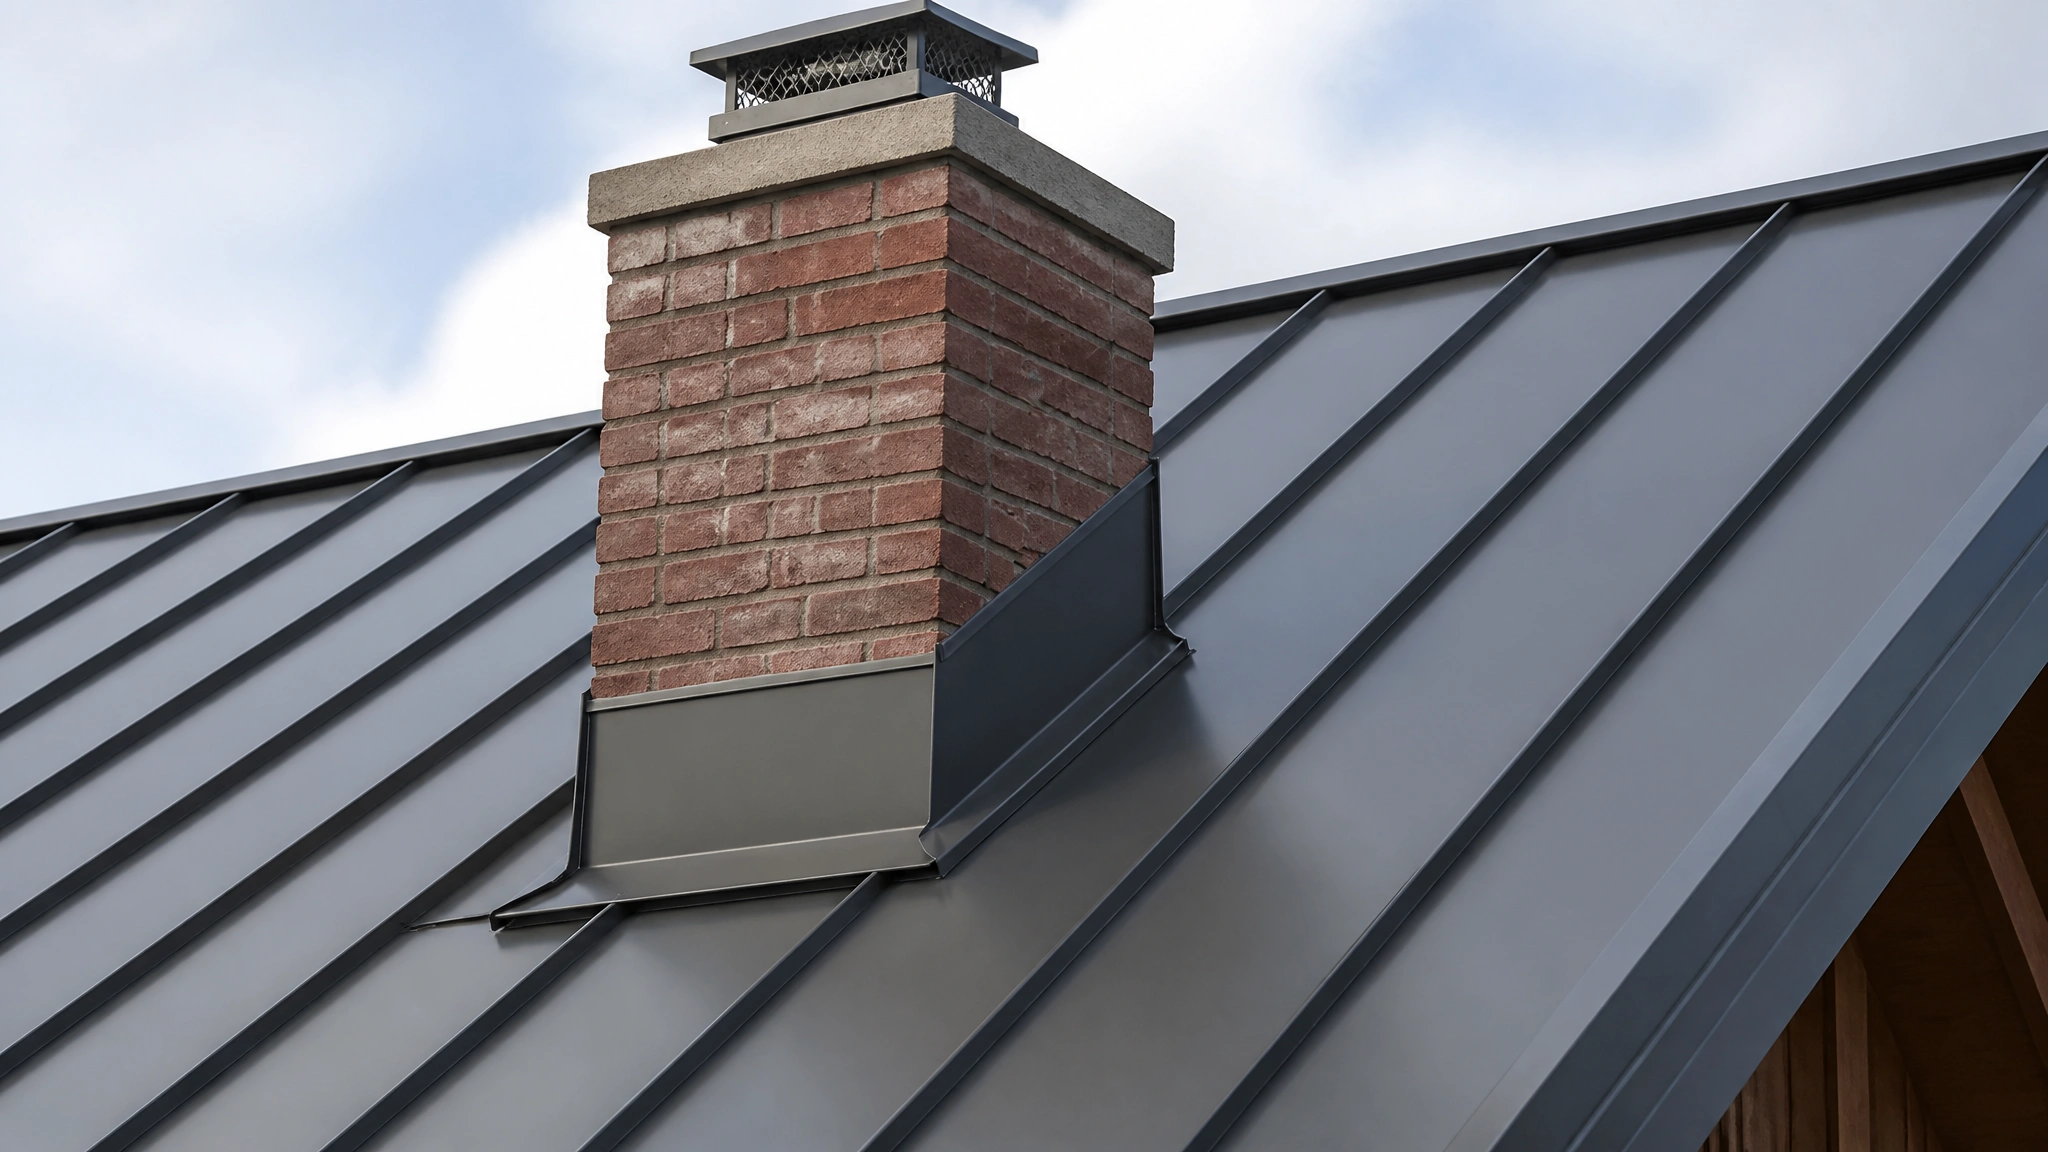
Roof pitch and chimney placement drive nearly every flashing decision you’ll make on this project. Installing metal roofing around chimney penetrations, steeper pitches shed water fast but concentrate runoff behind the chimney, raising the case for a cricket or saddle. Placement matters just as much: a chimney sitting near a ridge sees less uphill water than one lower on the slope. Verify chimney width before fabrication, since anything exceeding 30 inches typically needs a cricket to split flow and prevent debris buildup. You’ll also confirm distance to ridges, valleys, and walls so your step flashing, apron, and counterflashing tie cleanly into the panel and seam layout. Getting pitch and placement right upfront keeps water shedding downhill, not behind your work.
Which roof-to-chimney details need special planning
Four flashing details make or break a chimney penetration: step flashing at the sides, apron flashing on the downslope side, counterflashing embedded into the masonry, and a cricket on the uphill side of wider chimneys. Each detail demands its own planning when you’re roofing around chimney junctions.
| Detail | Key Planning Requirement |
|---|---|
| Step flashing | 2″ onto panel, 4″ up wall, woven per course |
| Apron flashing | Under upper roofing, over lower roofing |
| Counterflashing | Reglet cut 1″ into masonry, 2″ overlap |
| Cricket | Required when width exceeds 30″ |
| Fasteners | Copper or stainless, no exposed heads |
Verify laps face downhill so runoff sheds properly.
How should contractors coordinate metal roof and chimney work
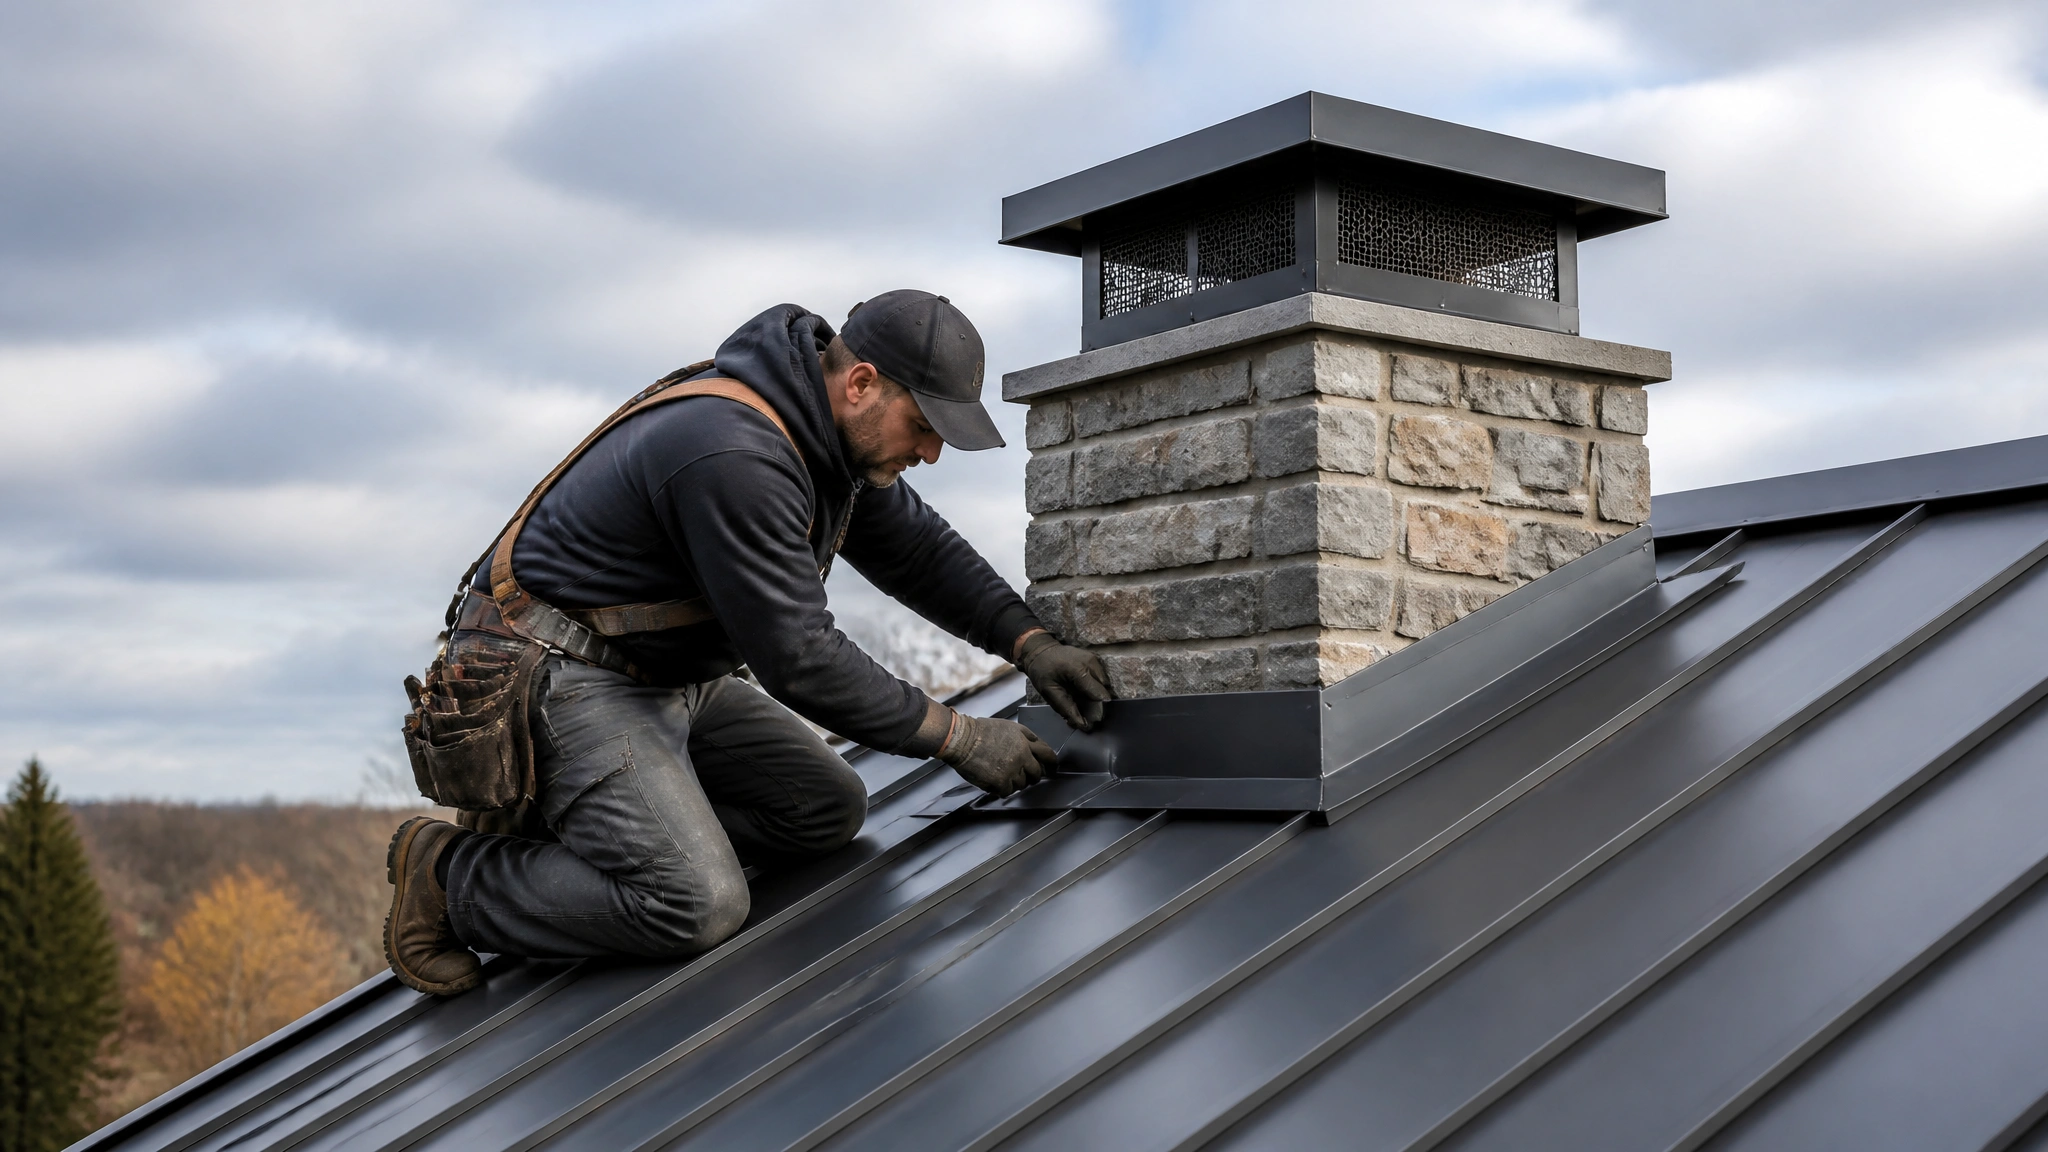
Contractors coordinate metal roof and chimney work by verifying chimney dimensions, roof pitch, and clearance requirements against appliance manuals and local code, then mapping how flashing components tie into the seam layout. On any metal roof chimney detail, minimize penetrations and confirm the panel profile matches your step, apron, and counterflashing components before fabrication.
Sequence the trades so masonry work, reglet cuts, and roofing don’t conflict:
- Inspect the crown, mortar joints, and cap condition, then confirm 2-inch combustible clearances.
- Fabricate flashings to match panel profile and seam pattern.
- Schedule counterflashing embedding after base flashing installation.
Walk the layout with your masons and verify downhill laps before closing anything up.
What installation mistakes can create long-term problems
Installation mistakes that create long-term problems include lapping flashing uphill, relying on surface sealant alone, skimping on step flashing dimensions, omitting crickets, and mixing metals, and nearly all of them let water move behind the flashing instead of over it. You’ll cause trouble if you lap flashing uphill, so always face laps downhill so runoff sheds over each piece. Don’t rely on surface sealant alone; embed counterflashing at least 1 inch into a mortar joint or reglet and overlap the base by 2 inches. Skimping on step flashing dimensions, less than 2 inches onto the panel or 4 inches up the wall, invites leaks. Omitting a cricket on chimneys wider than 30 inches traps debris and ice. In any metal roof installation, mismatched metals and exposed fasteners in water paths accelerate corrosion and shorten service life dramatically.
When should chimney repairs happen before roofing starts
Chimney repairs should happen before roofing starts, specifically while you still have easy access to the masonry and before you cut a single panel. Inspect the chimney crown, mortar joints, and cap condition, because that’s the window when repairs are cheapest and least disruptive. After metal roofing installation begins, access to the masonry gets harder and fixes get costly. If the crown’s cracked or mortar joints are deteriorated, address them first so your counterflashing embeds into sound masonry.
Handle these repairs before flashing goes in:
- Rebuild or repoint failing mortar joints so the reglet cut holds and seals properly.
- Repair or recast a cracked crown to stop water entry at the top.
- Replace a damaged cap and confirm required clearances to combustibles.
Fixing these now means your flashing ties into durable masonry, not crumbling substrate you’ll revisit later.
Plan the Chimney Work Before the New Roof Is Finished
A new metal roof is a good time to address problems where the chimney meets the roof, especially damaged flashing, deteriorated mortar, or an existing leak. ChimneyGuard provides chimney inspections, flashing repair, brick and mortar repair, chimney leak repair, and other chimney repair services throughout the Greater Atlanta area. If you are planning roofing work and want the chimney checked before the new roof is completed, call (877) 804-8273 to schedule an inspection.
Frequently Asked Questions
How Much Does Chimney Flashing Installation Typically Cost on Metal Roofs?
Here is what drives your cost: chimney width (over 30 inches means you’ll need a cricket), metal choice like copper versus galvanized steel, reglet-cut counterflashing labor, and roof pitch. For accurate pricing, get local quotes that account for these specific installation factors.
How Long Does Chimney Flashing Last Before Needing Replacement?
You’ll typically get decades of service, depending heavily on the metal you choose. Copper and stainless can last 50+ years, while galvanized steel at 26-gauge minimum often runs 20-30 years before corrosion demands replacement. Your longevity hinges on proper installation: embedded counterflashing cut at least 1 inch into masonry, downhill-facing laps, and corrosion-resistant fasteners. If you’ve relied on surface-only sealing, expect shorter life and plan for earlier attention at those masonry interfaces.
Can I Install Chimney Flashing Myself or Hire a Professional?
You can install chimney flashing yourself if you’re comfortable with step and apron flashing, cutting a reglet, and embedding counterflashing at least 1 inch into masonry. But it’s demanding work. You’ll need to weave step pieces correctly, keep laps facing downhill, and match flashing to your panel profile. If you’re on a steep roof, working with masonry, or fabricating a cricket, hire a pro to avoid costly leaks.
What Warranties Are Available for Chimney Flashing on Metal Roofs?
Generally, you’ll find that flashing materials, roofing systems, and workmanship each carry separate coverage. What I can tell you from experience: warranty protection depends heavily on proper installation, downhill laps, embedded counterflashing, and matched metals. Check with your material manufacturer and installer directly to confirm exact terms before you commit.
How Often Should Chimney Flashing Be Inspected After Installation?
You should inspect your chimney flashing at least once a year, ideally in fall before harsh weather hits. Check the counterflashing embedded in the masonry, verify downhill laps stay tight, and confirm there aren’t any exposed fasteners in critical water paths. After major storms, high winds, or ice buildup, take another look. Don’t forget to examine the chimney crown, mortar joints, and cap condition while you’re up there too.