


A Level II inspection covers everything in Level I, plus deeper access to your firebox, damper, throat, lintel, and smoke chamber. You’ll get a camera scan of the entire flue liner, top to bottom, catching cracks, gaps, warping, and blockages. Inspectors verify clearances to combustibles in your attic, basement, and crawl space, then check the cap, crown, and flashing. Below, you’ll find exactly how each component gets examined for safety-related defects.
Key Takeaways
- Includes all Level I checks plus deeper access to interior and exterior areas like the attic, basement, and crawl space.
- Examines the firebox, damper, throat, lintel, and smoke chamber for cracks, corrosion, and deterioration.
- Scans the entire flue liner top to bottom using a specialized inspection camera with continuous video feed.
- Verifies clearances to combustibles around the mantle, trim, and framing, plus vent connector attachment and sizing.
- Inspects the chimney cap, crown, flashing, and masonry stack, documenting findings with photos or video for repair decisions.
What is a level 2 chimney inspection in practice
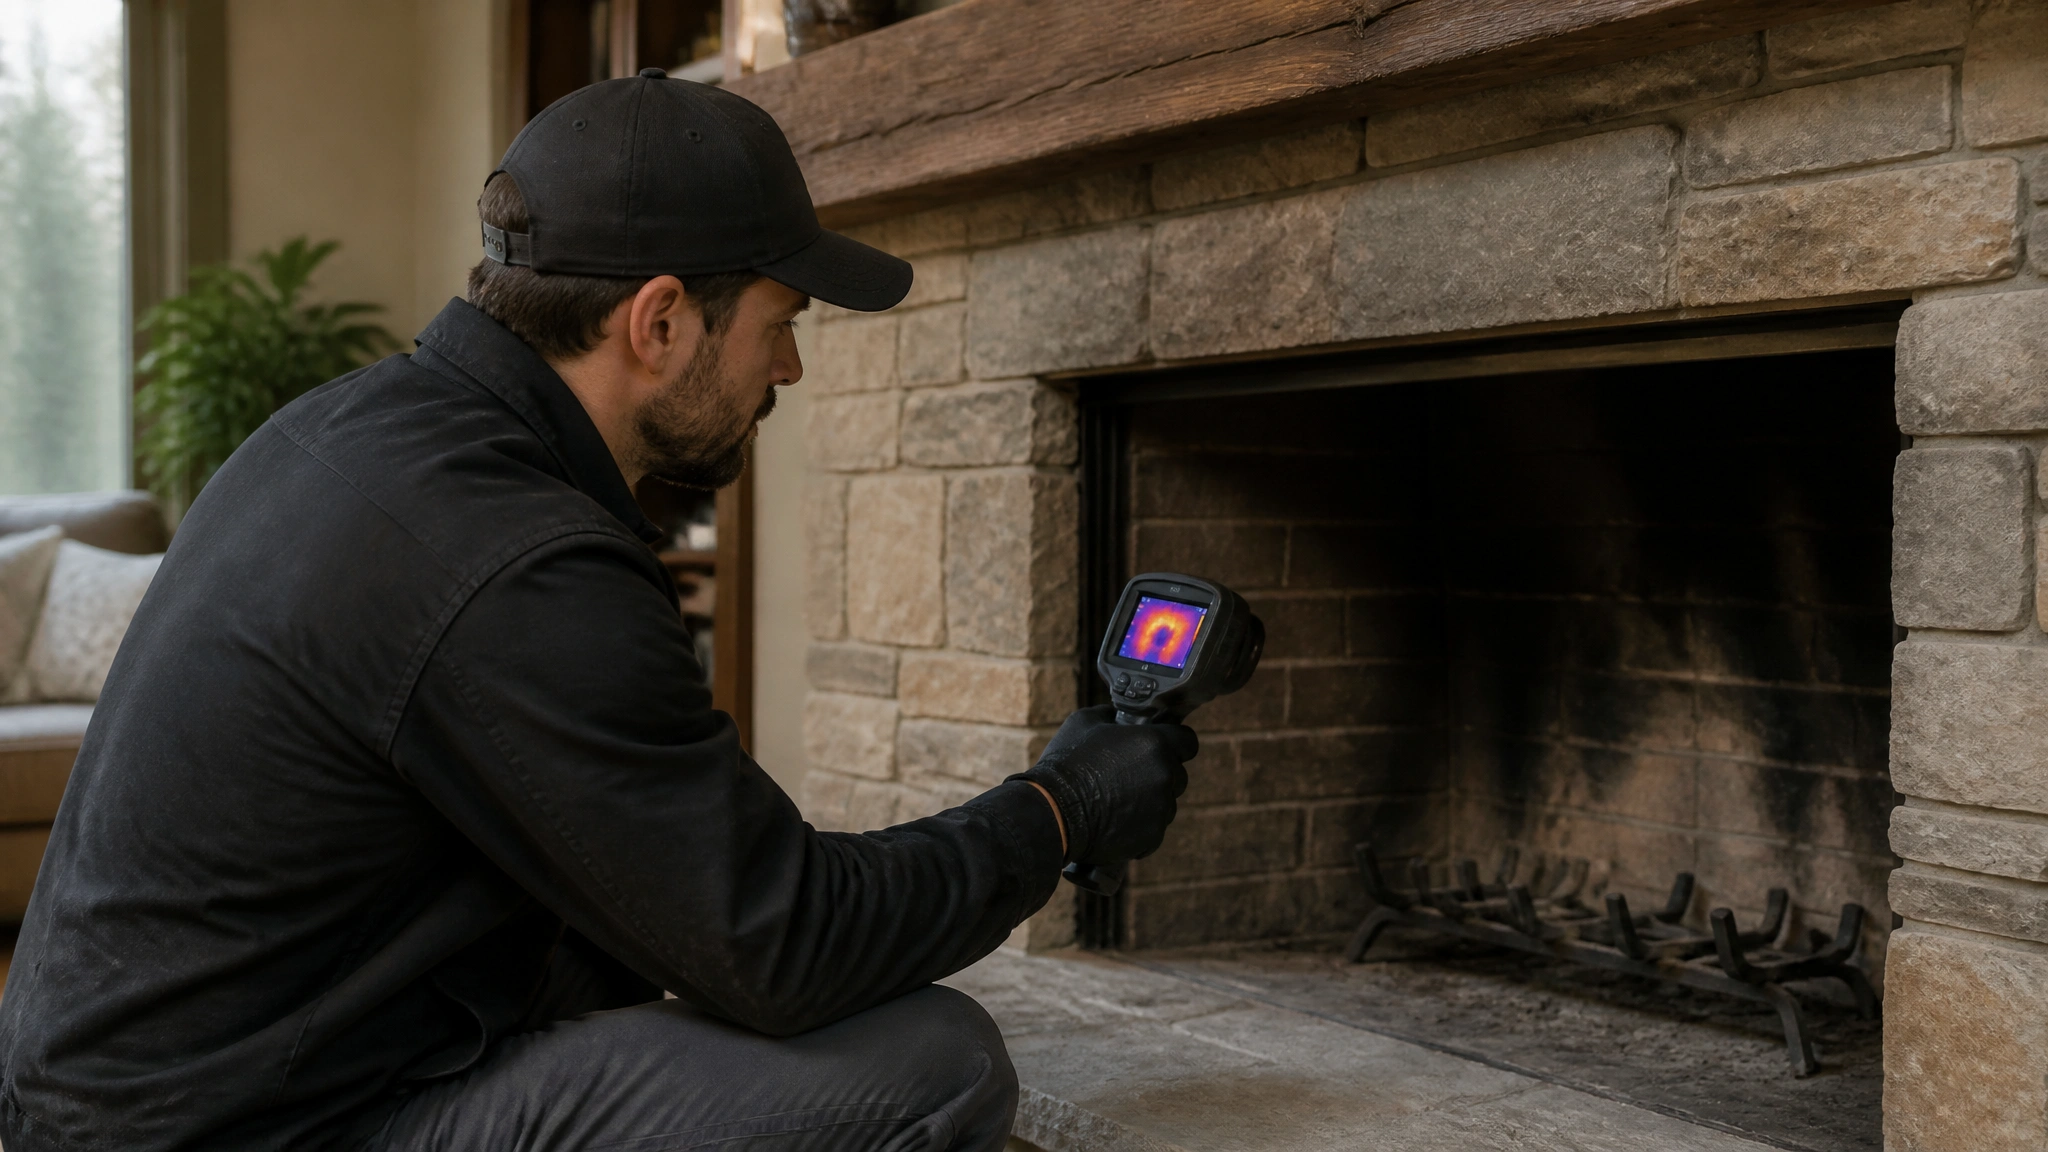
A Level II chimney inspection includes everything a Level I covers plus a deeper look into the chimney’s accessible interior and exterior. Your technician examines the firebox, damper, throat, lintel, and smoke chamber, then verifies clearances to combustibles around the mantle, trim, and framing in the attic, basement, or crawl space. During this thorough process, the technician will also provide a detailed report highlighting any issues discovered during the inspection. Understanding the cost of level II chimney inspection can help homeowners budget for necessary maintenance or repairs. Regular inspections ensure the safety and efficiency of your chimney system, preventing costly damage in the long run.
A defining feature is the chimney flue inspection performed with a specialized chimney inspection camera. This tool scans the entire flue liner top to bottom, revealing cracks, gaps, warping, deterioration, and blockages you can’t spot visually. Your inspector also checks the cap, crown, flashing, and masonry stack, documenting findings so you understand any defects affecting safety and venting performance.
How does a chimney inspection camera scan the flue
A chimney inspection camera scans the flue as your technician lowers or raises a specialized video camera on a rigid rod or flexible cable, capturing a continuous feed of every internal surface from top to bottom. As the camera travels, you’ll see the entire flue liner displayed on a monitor, revealing cracks, gaps, warping, deterioration, and blockages that a basic visual inspection can’t detect. The camera examines internal surfaces and joints of the liner, checking for gaps between clay tiles or damage to metal and prefabricated liners. Your technician watches for spalling, creosote buildup, and structural separation that could allow heat or combustion byproducts to escape. Many inspections document these findings with photos or video footage, giving you a permanent record of the flue’s condition for repair decisions.
Which areas get opened up and checked
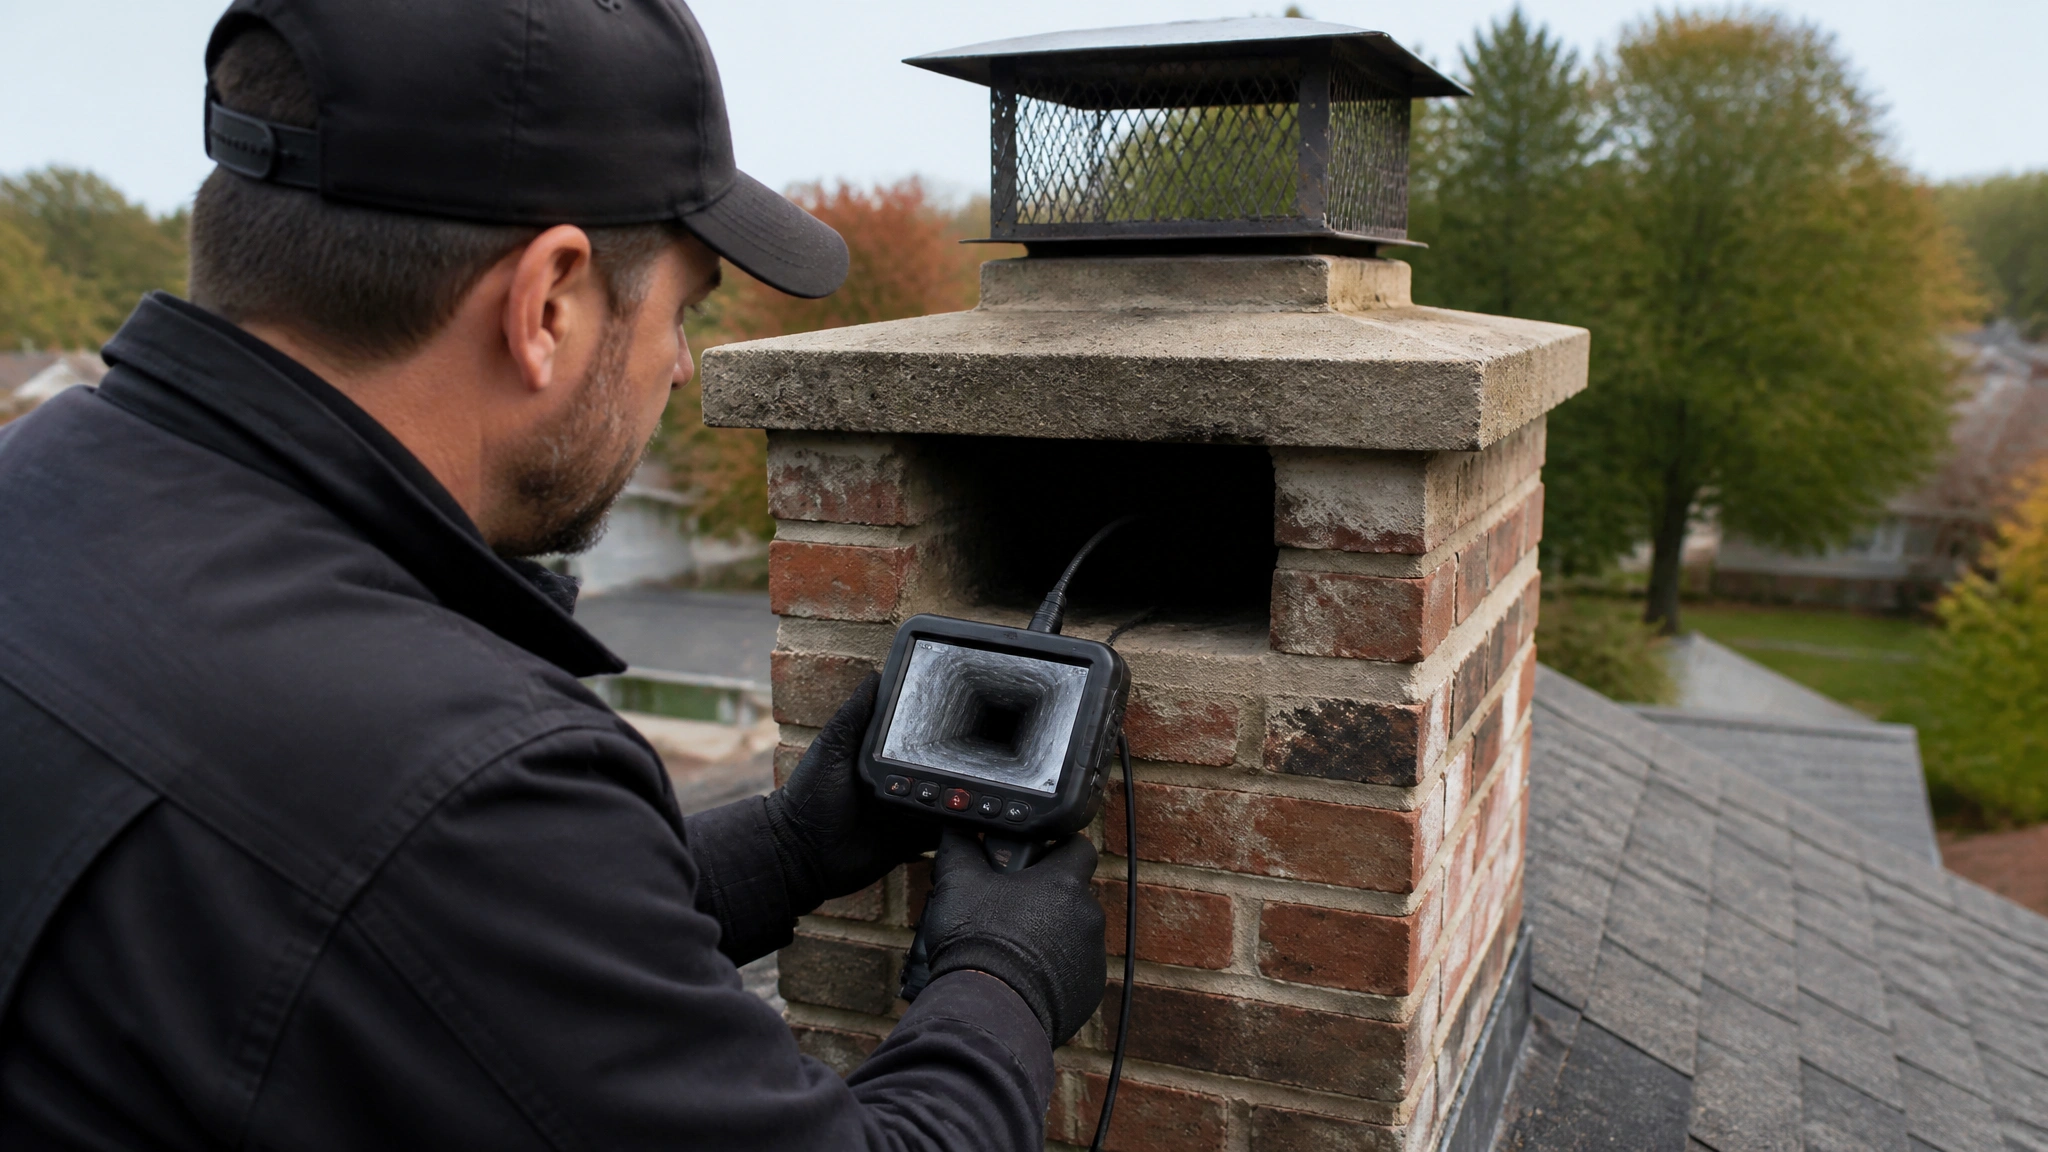
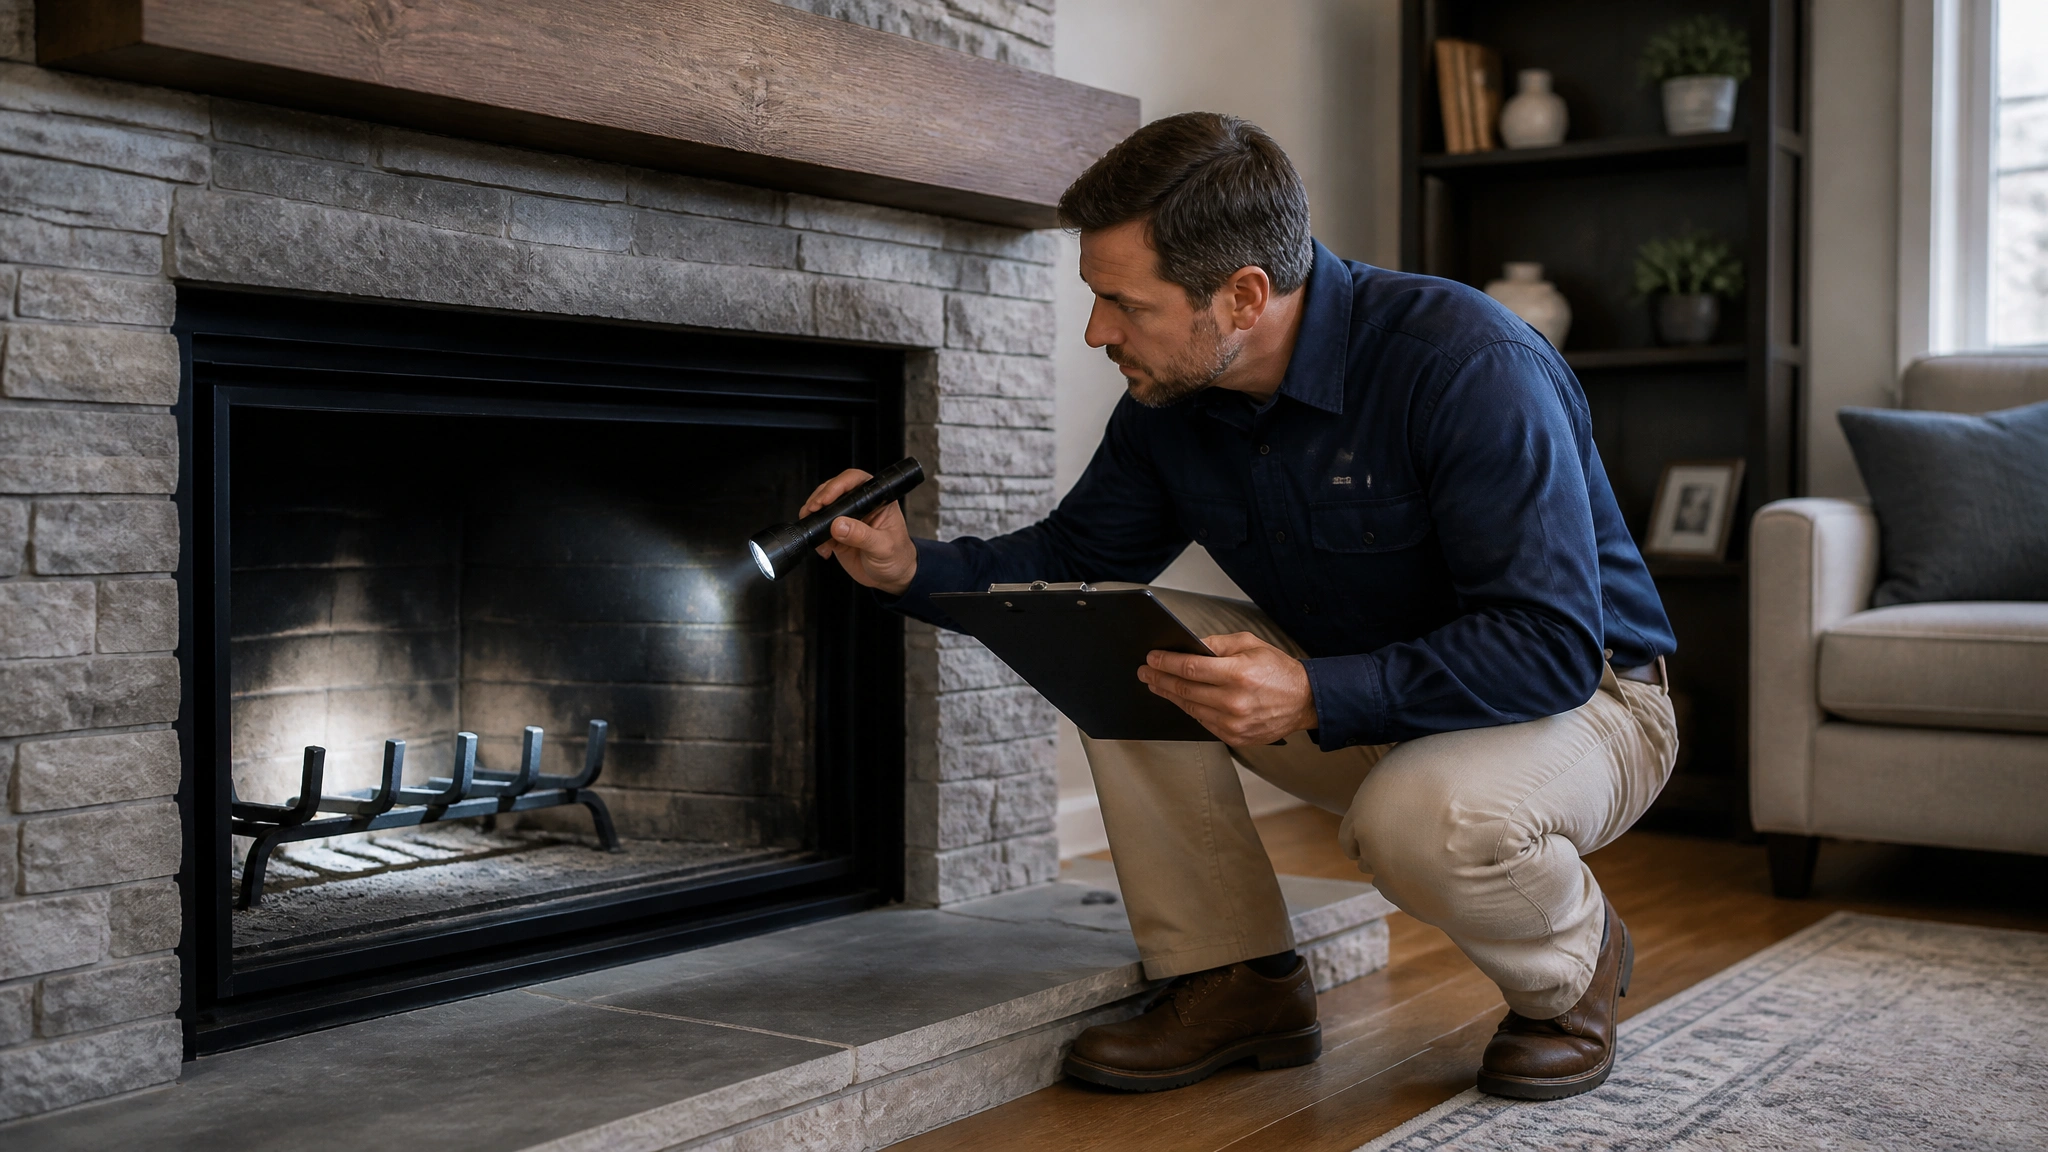
A Level II inspection opens up and checks the roof, attic, basement, crawl space, fireplace firebox, and chimney top, examining every reachable portion of the chimney system. Inside the firebox, your technician checks the firebrick or prefabricated panels for cracks, spalling, and deterioration. They evaluate the outer hearth, lintel, throat, and damper for damage or misalignment. Clearances to combustibles get verified around the mantle, trim, and other accessible locations.
In the attic, basement, crawl space, and chases, they inspect the concealed chimney structure for defects, gaps, or heat-related damage. They review the visible masonry stack or prefab chase for obvious problems. Where accessible, they’ll also examine the ash dump, wall pass-throughs, and factory-built chimney supports, documenting any conditions that compromise safety or venting.
Which components are examined for what
A Level II inspection ties each component to a specific set of failure conditions your technician is looking for. You’ll get a component-by-component assessment, where each part is checked against the defects most likely to compromise safety or performance.
| Component | What’s Examined For |
|---|---|
| Flue liner | Cracks, gaps, warping, deterioration, blockages |
| Firebox and firebrick | Damaged brick, deteriorated joints, clearance loss |
| Damper and throat | Corrosion, obstruction, improper operation |
| Crown, cap, flashing | Water entry points, spark arrestor condition |
Your technician also verifies clearances to combustibles around the mantle, trim, and pass-throughs, and confirms vent connectors are properly attached and sized. Each finding links back to fire safety, venting performance, or moisture intrusion, so you know exactly what needs attention.
What happens in the attic, crawlspace, and basement
In the attic, crawlspace, and basement, your inspector accesses these hidden spaces to examine portions of the chimney you can’t normally see as it passes through your home. They review the visible chimney structure for cracks, deterioration, and obvious defects along these runs.
Clearance to combustibles becomes the priority here. Your inspector confirms proper spacing between the chimney and framing, insulation, or other combustible materials at wall pass-throughs and support points. Inadequate clearance in these concealed areas creates serious fire risk.
They also verify the attachment and configuration of chimney or vent connectors and check factory-built chimney supports where accessible. Findings from these spaces get documented, often with repair recommendations when hazards appear.
How far does a chimney flue inspection actually reach
A Level II flue inspection reaches the entire flue liner, top to bottom, using a specialized video camera. You’re inspecting internal surfaces and joints, scanning for cracks, gaps, warping, deterioration, and blockages that a basic visual check can’t catch. The camera reaches areas you’d otherwise never see, exposing hidden defects that compromise venting performance or fire safety.
You feed the camera through the flue from the chimney top or fireplace throat, examining each liner section and joint for damage. Because this reach matters after chimney fires, system changes, or suspected damage, you’ll often document findings with photos or video footage. That documentation feeds directly into your report, supporting recommendations for relining, sealing, or further evaluation when defects surface.
Which findings does the written report contain
The written report contains findings covering the firebox, outer hearth, lintel, throat, and damper, along with clearances to combustibles around the mantle, trim, and accessible locations. It documents every condition observed across the inspected areas, not just the flue. It records the condition of accessible chimney portions in the attic, basement, crawl space, and chases, plus visible structural defects. Flue findings note cracks, gaps, warping, deterioration, and blockages, often documented with photos or video footage. Roof-top observations include the cap, crown, chase cover, flashing, and masonry condition. You’ll also see repair recommendations when defects or hazards appear, and notes on whether the system needs maintenance, relining, sealing, or further evaluation, helping you address fire safety, venting performance, and moisture intrusion concerns.
Which inspector brings the right equipment
The right inspector brings a specialized video camera capable of scanning the entire flue liner from top to bottom. You need an inspector who brings this tool, because you can’t verify cracks, gaps, warping, deterioration, or blockages inside the flue without it. Look for someone whose camera reaches every internal surface and joint, documenting conditions with photos or video footage for your report.
The right inspector also carries gear to access the roof, attic, basement, crawl space, and firebox safely. They’ll examine the chimney cap, crown, flashing, and masonry stack from these vantage points. Without proper equipment, hidden defects stay hidden, exactly the conditions a Level II inspection exists to catch after damage, system changes, or a chimney fire.
See What a Basic Chimney Check Could Miss
A Level II inspection goes beyond a surface review by examining the flue with a video camera and checking accessible areas such as the attic, crawl space, basement, firebox, crown, and flashing. Chimney Guard USA can document hidden cracks, liner damage, blockages, clearance problems, and moisture entry before they lead to larger repairs or safety concerns. Call (770) 275-2500 to schedule your Level II chimney inspection.
Frequently Asked Questions
How Long Does a Level II Chimney Inspection Typically Take?
You’ll typically spend 45 minutes to over an hour on a Level II inspection, though it depends on your system’s complexity and accessibility. Since it includes video flue scanning, firebox checks, and examining attic, basement, and roof-top areas, you’ll need extra time. If your inspector finds damage or blockages requiring closer evaluation, expect longer. Difficult access points or documenting findings with photos and video can also extend the timeframe.
How Much Does a Level II Chimney Inspection Cost?
Since this inspection includes video flue scanning, firebox and damper evaluation, clearance verification, and roof-top exterior checks, you’ll want to request quotes from certified chimney professionals in your area. Pricing typically depends on your chimney’s accessibility, system complexity, and whether video documentation’s required for your detailed report.
When Is a Level II Inspection Required Versus a Level III?
You’ll need a Level II inspection after system changes, damage, or a chimney fire, since hidden defects may exist in accessible areas. It uses video scanning to examine the flue for cracks, gaps, and blockages. You’ll move to a Level III inspection when a Level II reveals serious hazards requiring access to concealed areas, meaning you’ll remove building components or masonry to investigate suspected defects that threaten safety.
Do I Need a Level II Inspection When Selling My Home?
Yes, you’ll need a Level II inspection when selling your home, since it’s required whenever there’s a property transfer or system change. You’ll get a thorough evaluation covering all Level I items plus accessible interior and exterior areas, along with a video camera scan of the entire flue liner. This identifies hidden cracks, deterioration, clearance violations, or blockages that affect fire safety and venting, protecting both you and the buyer.
How Often Should I Schedule a Level II Chimney Inspection?
You don’t need a Level II inspection on a fixed schedule like an annual checkup. Instead, you’ll schedule one whenever specific conditions arise: after a chimney fire, following system changes like a new appliance or relining, when you’re selling or buying a home, or after damage from storms or earthquakes. These events can create hidden defects, so you’ll want the camera-based flue scan to verify safe, code-compliant operation.