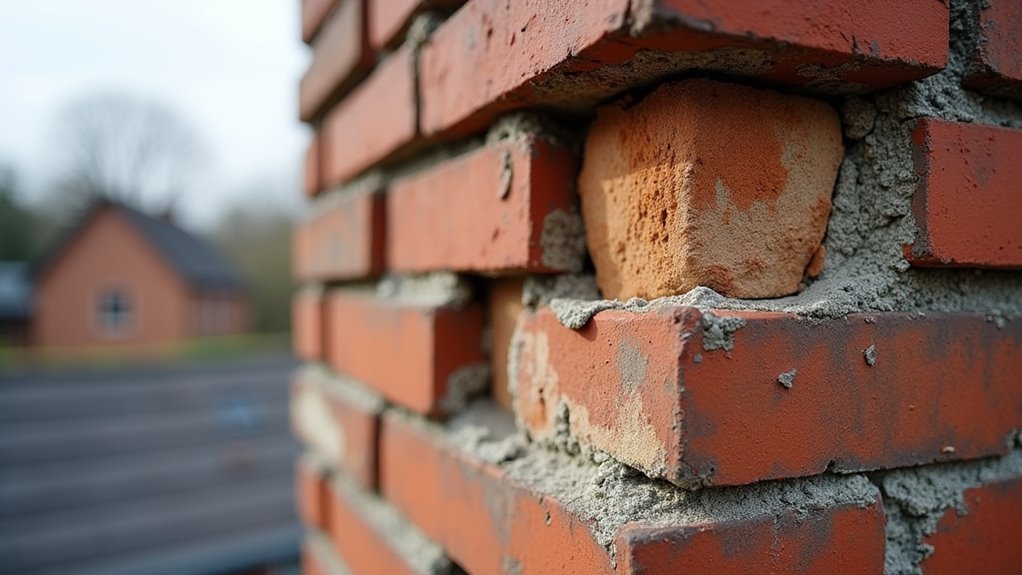
Chimney tuckpointing replaces deteriorated mortar joints by routing out damaged material to one inch deep, then packing in color-matched mortar in lifts. You’ll typically pay $500 to $2,500, with most jobs averaging around $1,200. You’ll need it when you spot cracked, recessed, or missing mortar, especially after freeze-thaw cycles. Since mortar lasts roughly 25 years, annual inspections help you catch problems early. Understanding the full process and cost factors below will help you make the right call.
What Chimney Tuckpointing and Repointing Actually Mean
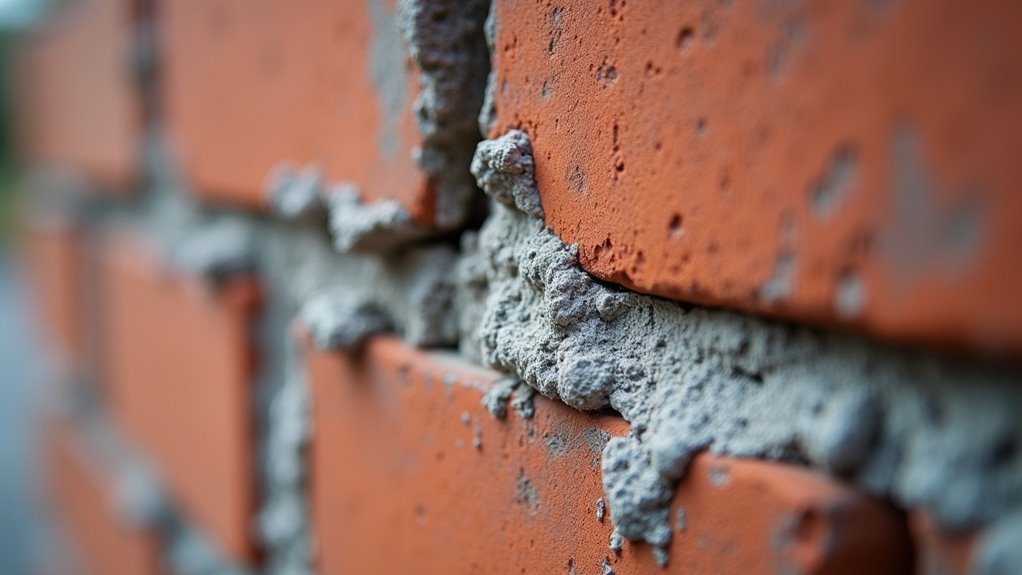
Tuckpointing is a masonry repair process that removes deteriorated mortar from chimney joints and replaces it with fresh mortar to restore the structural bond between bricks. It then adds a contrasting mortar line to create thin, uniform-looking joints that mimic fine historical brickwork. This makes chimney tuckpointing both a structural and decorative technique.
Repointing focuses strictly on the structural side. You’re removing damaged mortar and packing in new material matched to the existing composition, without the decorative two-tone finish. It’s the repair you’d choose when your priority is stopping water intrusion and restoring joint integrity.
Both methods address the same underlying problem: mortar that’s cracked, eroded, or separated from surrounding brickwork due to moisture, freeze-thaw cycles, and age. Since mortar has a lifespan of about 25 years compared to bricks that can last a century, these repairs are an expected part of chimney ownership rather than a sign of failure.
Signs Your Chimney Needs Tuckpointing
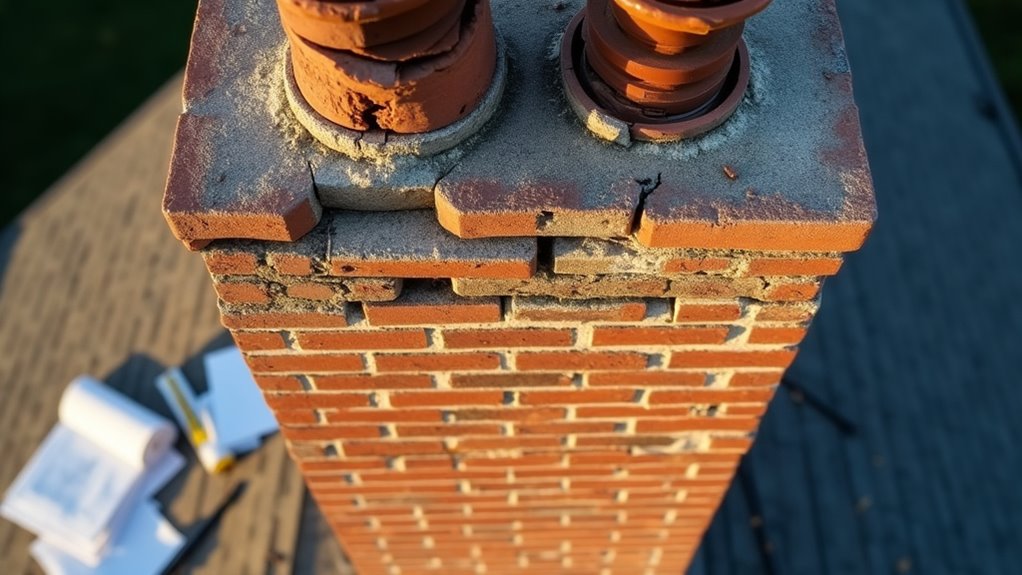
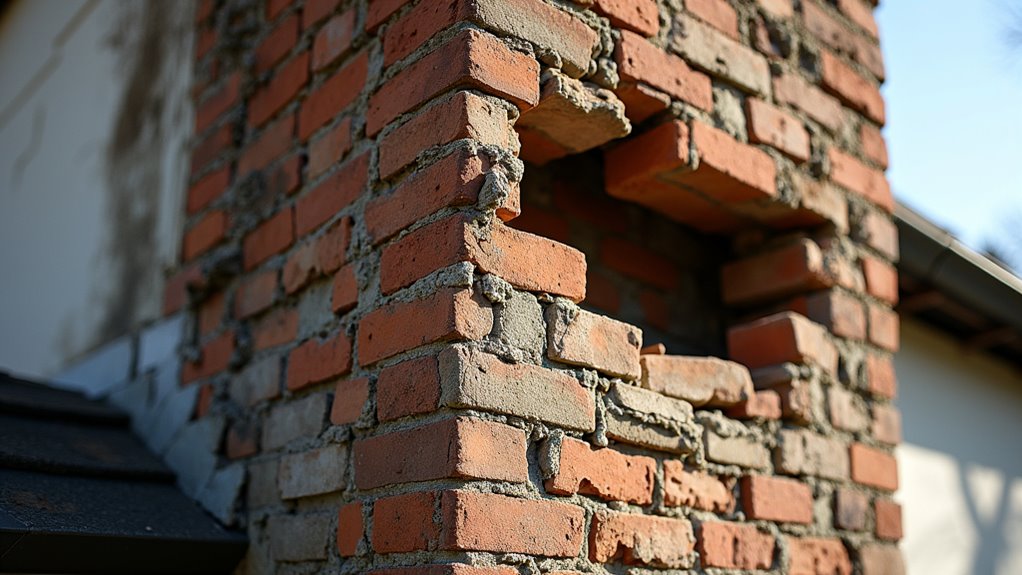
- Cracked, flaking, or recessed mortar joints, eroded joints that sit noticeably behind the brick face signal active deterioration requiring prompt attention.
- Loose or shifting bricks, when mortar can’t hold masonry units in place, structural instability increases.
- Gaps or voids in joints, missing mortar creates direct pathways for water intrusion and freeze-thaw damage.
- Water stains, leaks, or efflorescence near the chimney, white powdery residue on brickwork confirms moisture is migrating through compromised joints.
- Spalling or flaking brick faces, bricks that chip and peel due to freezing temperatures allow deeper moisture penetration and accelerate structural weakening.
If your mortar hasn’t been inspected in 15, 20 years, schedule a professional assessment before minor joint failure becomes major structural damage.
How Chimney Tuckpointing Works Step by Step
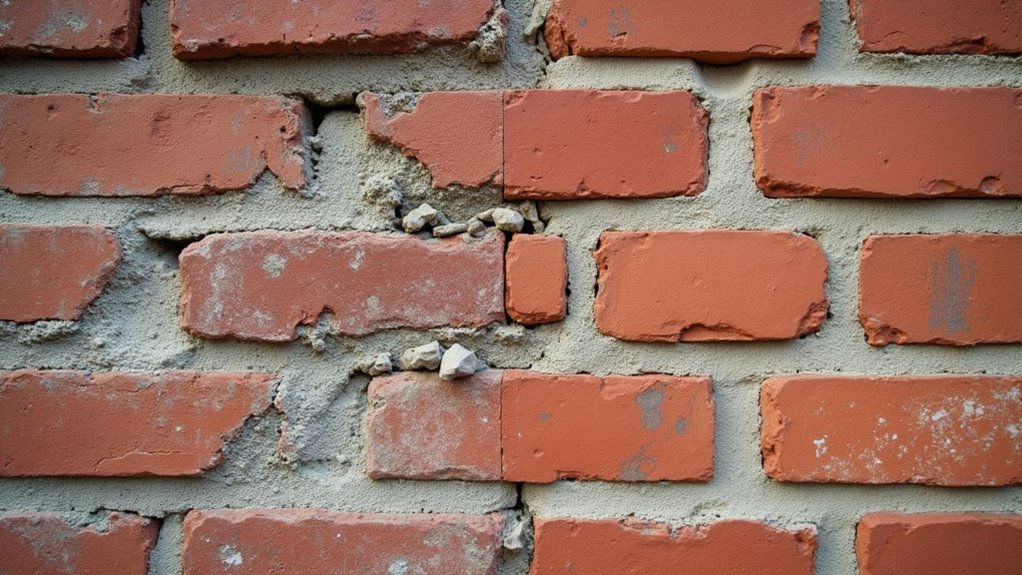
Restoring damaged mortar joints follows a structured sequence, from initial inspection through final curing, that determines how well the repair holds up over time.
First, technicians assess joint deterioration and plan the scope of work, which directly affects chimney repointing cost. Damaged mortar is routed out to approximately one inch deep without exceeding one-third of the brick’s total depth. Joints are then brushed clean and lightly dampened to optimize adhesion.
New mortar, matched for color, texture, and strength, is packed in lifts using a pointing trowel or mortar bag to eliminate voids. Technicians work in small sections to prevent premature drying. Once the mortar reaches a firm but workable state, it’s tooled to match existing joint profiles. The repair then cures over several days under controlled moisture conditions. With annual servicing and inspections, a well-maintained chimney can last hundreds of years before requiring major structural intervention.
How Much Does Chimney Tuckpointing Cost?
How much you’ll pay for chimney tuckpointing depends on the extent of joint deterioration, chimney size, accessibility, and regional labor rates. Most projects fall between $500 and $2,500, with an average around $1,200. Per-square-foot pricing typically runs $10 to $25.
Chimney tuckpointing typically costs $500 to $2,500, averaging $1,200, depending on size, access, and joint condition.
So, how much does chimney tuckpointing cost? These four factors drive your final number:
- Chimney height and base size, Taller structures require scaffolding and additional labor hours at $50 to $100 per hour.
- Joint damage severity, Extensive deterioration increases material volume and prep time.
- Access difficulty, Steep rooflines or obstructed areas add equipment costs.
- Regional pricing, Southern markets average $800 to $1,800, while West Coast projects reach $1,300 to $2,700.
Budget $50 to $600 for add-ons like waterproofing or permits.
What Drives the Price Up on Chimney Repointing?
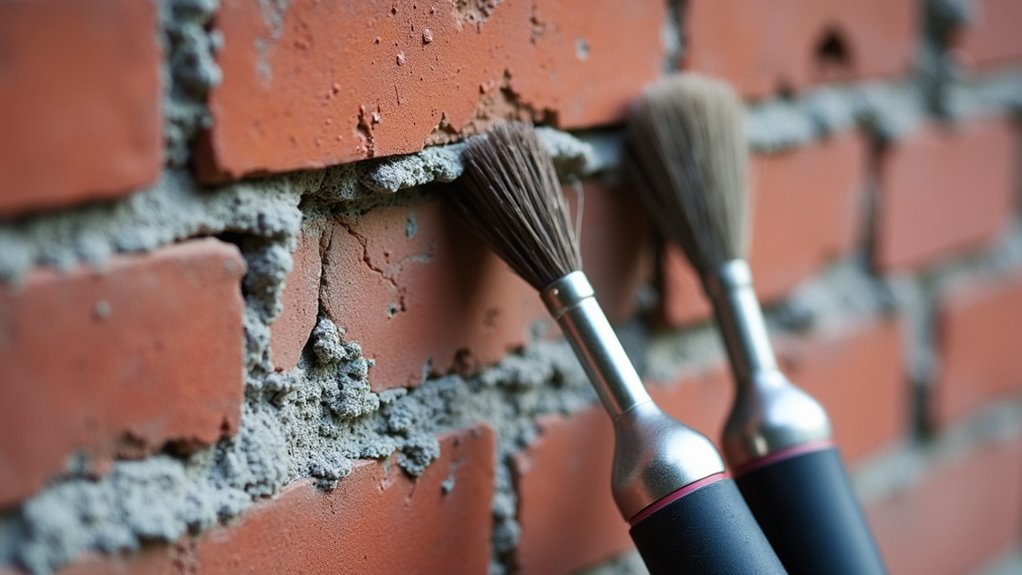
Several factors can push chimney repointing costs well above baseline estimates, and understanding each one helps you budget accurately before work begins. The extent of deterioration matters most, crumbling joints, loose bricks, and widespread erosion expand the scope of mortar joint repair chimney work considerably. Minor repointing may start around $350, but extensive damage can reach $2,500 or require partial rebuilding.
Height and access difficulty directly increase labor and safety costs. Three-story chimney repairs range from $3,000 to $10,000, while difficult-access jobs run $2,000 to $8,000. Regional labor rates ($50, $200/hour) compound these figures. Material complexity, matching existing mortar, replacing spalled brick, or adding waterproofing, raises costs further. Emergency scheduling adds $300, $500 in service fees alone. Delayed repairs consistently increase total project expense.
DIY Chimney Repointing vs. Hiring a Mason
If you’re considering DIY repointing, you’ll need a pointing trowel, hawk, grinder or hand tools for mortar removal, and enough skill to cut joints to the correct depth without damaging surrounding bricks. Working on a chimney introduces fall hazards, and overcutting or improper mortar placement can loosen masonry or create moisture pathways that accelerate deterioration. You should hire a professional mason when you encounter loose bricks, extensive mortar loss, or any structural concerns that go beyond minor joint repair.
DIY Skill Requirements
Although chimney repointing may look straightforward from the ground, it requires specialized masonry skill and equipment that go well beyond basic handyman ability. Understanding tuckpointing vs repointing distinctions, proper mortar selection, and brick condition assessment are essential before starting. Repointing chimney joints demands confidence with controlled brickwork, not just general construction experience.
To handle this work yourself, you’ll need proficiency in these core areas:
- Masonry tools, angle grinders, joint rakers, tuck pointers, and jointing irons for clean mortar removal and finishing.
- Mortar mixing, matching the correct type, consistency, and compatibility with existing brickwork.
- Joint preparation, cutting to consistent depth, cleaning debris, and dampening surfaces before packing.
- Finish tooling, shaping joints at the right cure stage to match surrounding profiles.
Safety and Access Risks
Beyond access dangers, DIY work often misses hidden structural problems. Deteriorated mortar can conceal cracked flues, leaning masonry, or joint instability that requires professional evaluation before repointing begins. You may also encounter hardened creosote inside the flue, a combustible deposit that surface cleaning won’t remove. Addressing visible mortar while overlooking these deeper hazards can leave your chimney unsafe for future use and vulnerable to accelerated failure.
When to Hire Professionals
Knowing when to hire professionals comes down to four conditions:
- Structural compromise, severe cracks, leaning, or crumbling masonry requiring partial or full rebuilding.
- Multi-system damage, flue, crown, or cap issues present alongside deteriorated joints.
- Uncertain scope, you can’t confidently assess whether damage is superficial or structural.
- Access limitations, roof pitch, chimney height, or scaffolding needs exceed safe DIY capability.
Professional repointing runs $500, $2,500, while rebuilding reaches $3,000, $10,000+. Screen contractors for CSIA certification and liability insurance before authorizing work.
Why Mortar Color and Type Matching Matters
When mortar joints are repaired, the replacement mortar’s color and composition must closely match the original, not just for appearance, but for structural compatibility. Sand accounts for 70, 80% of final mortar color, so accurate mortar color matching requires analyzing the existing sand source, cement type, pigment, and water ratio. Professional masons typically prepare 3, 5 test patches with varying pigment ratios before committing to a full repair.
Beyond aesthetics, material compatibility protects your brickwork. Mortar acts as the sacrificial element in masonry, it’s designed to absorb stress so your bricks don’t. If replacement mortar is harder than the surrounding brick, you risk cracking and spalling. Type N mortar balances strength and flexibility for above-grade chimney applications, reducing damage from thermal movement in Atlanta’s variable climate.
How Often Should You Inspect Chimney Mortar?
Most homeowners underestimate how quickly mortar damage can progress between seasons. The NFPA and CSIA both recommend annual chimney inspections, even if you rarely use your fireplace. Late spring or early summer is ideal, you’ll have time to complete chimney mortar repair before heating season.
Schedule an inspection immediately if you notice:
- Crumbling or missing mortar between bricks
- White streaks or chalky deposits on masonry surfaces
- Smoke backing up into your living space
- Brick or mortar debris collecting in your firebox
Severe storms, lightning strikes, or earthquakes also warrant prompt evaluation outside your normal cycle. Freeze-thaw cycles can expand hairline cracks into structural failures within a single winter. Catching deteriorated joints early keeps repair costs manageable and prevents water intrusion from compromising your chimney’s integrity.
Restore Your Chimney With Trusted Local Experts
A damaged chimney can put your home and family at risk, but timely professional work can prevent costly issues down the road. At Chimney Guard serving the Greater Atlanta Area, our certified team provides reliable Chimney Repair with quality workmanship and honest pricing. Call +1 (770) 275-2500 today and book your appointment with confidence.
Frequently Asked Questions
Can Chimney Tuckpointing Be Done in Cold or Rainy Weather?
You can tuckpoint in cold or rainy weather, but it’s not ideal. You’ll need temperatures above 40°F that are rising and stable for at least 24 hours. Freezing conditions allow ice crystals to form in fresh mortar, weakening the bond. Rain can wash out joints before curing is complete. If you must proceed, use heated enclosures, tarps, accelerators, and heated water. If you can’t maintain protection, you should postpone the work.
Does Homeowners Insurance Cover Chimney Repointing or Tuckpointing Costs?
Your homeowners insurance typically covers chimney repointing or tuckpointing only when a covered peril, like fire, lightning, or a falling tree, caused the mortar damage. If your mortar’s deteriorating from normal wear, freeze-thaw cycles, or deferred maintenance, your insurer will likely deny the claim. You’ll strengthen your case by documenting damage promptly with photos, inspection reports, and repair estimates. Always review your policy’s specific language before filing.
How Long Does Chimney Tuckpointing Mortar Need to Cure?
Chimney tuckpointing mortar needs at least 24, 48 hours before handling or sealing, though full hardening typically takes a few days. You’ll want to protect fresh mortar from rain, freezing, and disturbance during that first 24-hour window. Temperatures should stay above 40°F for proper curing. Cold, wet, or humid conditions can extend curing well beyond the minimum. Don’t apply breathable sealants until the mortar has fully dried to avoid trapping moisture.
Will Repointing My Chimney Increase My Home’s Resale Value?
Repointing your chimney can support your home’s resale value by improving curb appeal, increasing buyer confidence, and preventing inspection-flagged defects that often lead to price reductions or repair credits. You’ll see the strongest impact when mortar deterioration is visible, since damaged joints signal deferred maintenance. At roughly $700 to $2,200, it’s a practical investment that preserves structural integrity and helps your home appear move-in ready to prospective buyers.
Can Tuckpointing Fix a Leaning or Structurally Shifted Chimney?
Tuckpointing alone won’t fix a leaning or structurally shifted chimney. A lean typically signals major structural failure, foundation settlement, roof-deck displacement, or severe masonry loss, requiring bracing, underpinning, or full rebuilding before mortar work applies. You’ll need a structural evaluation first. Once your chimney’s stabilized and realigned, tuckpointing can restore deteriorated mortar joints, seal gaps, and protect the repaired masonry from moisture intrusion and further weathering damage.